Category Archives: modern quilting
Making Progress
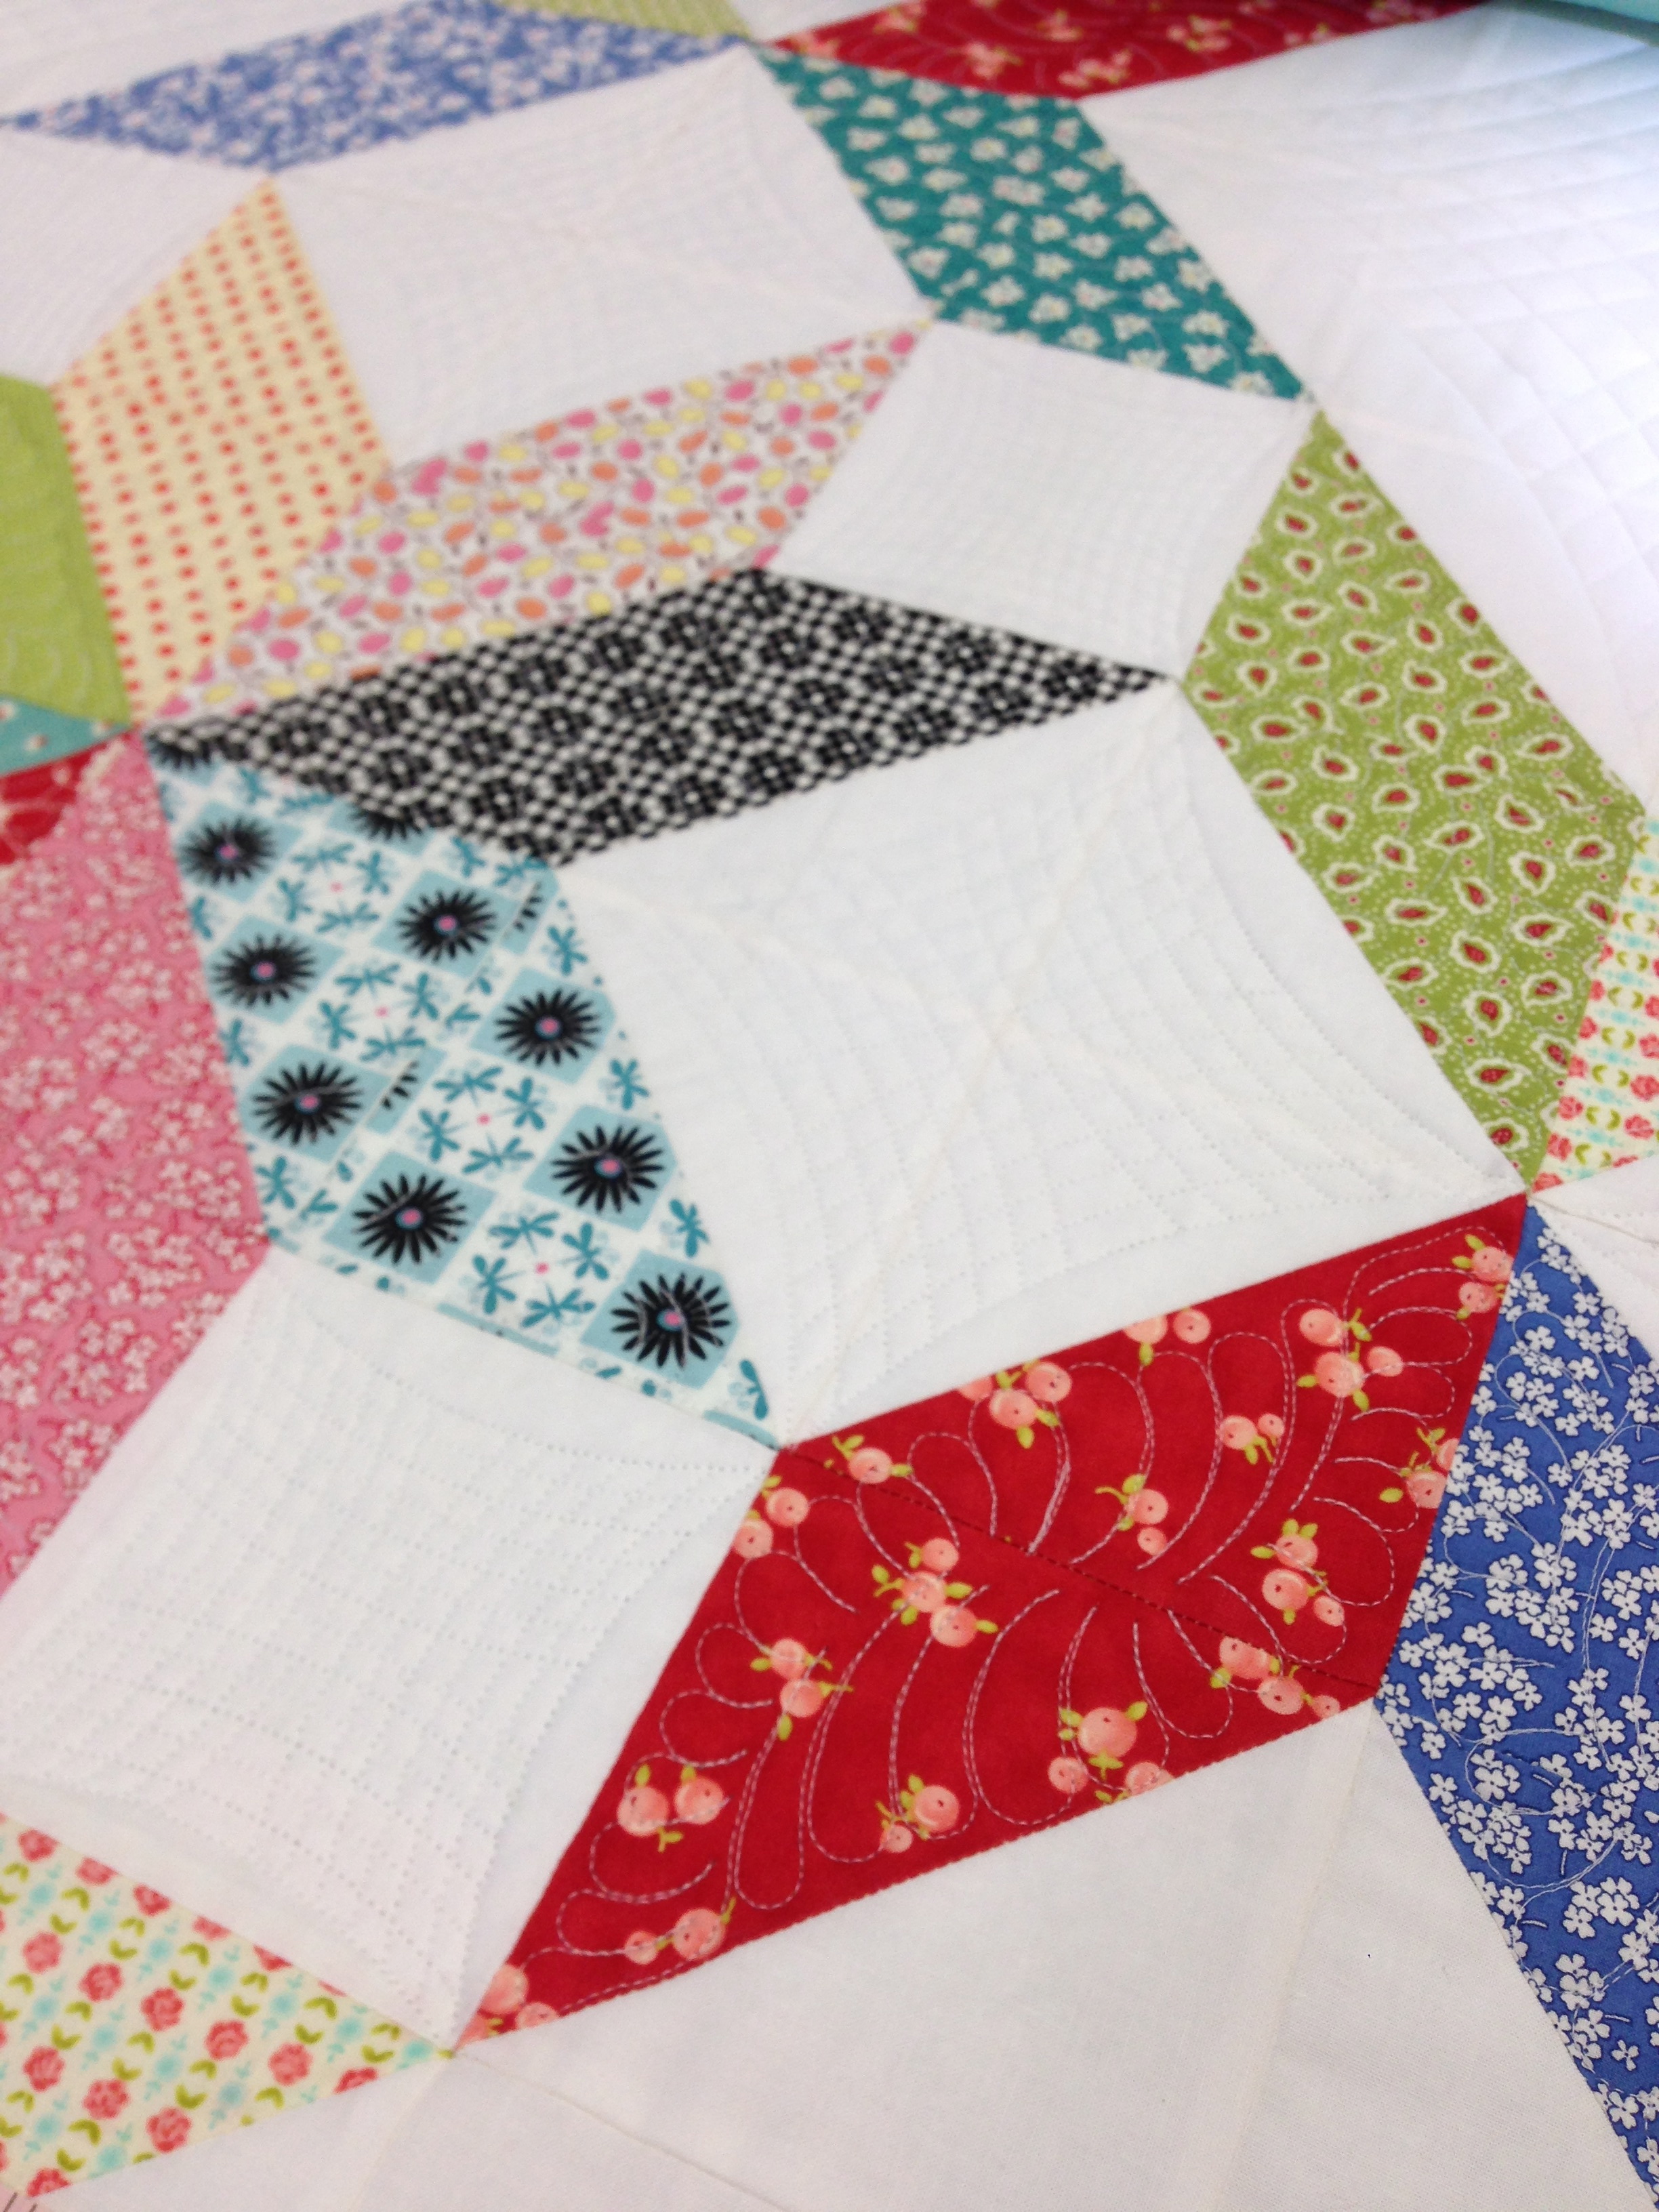
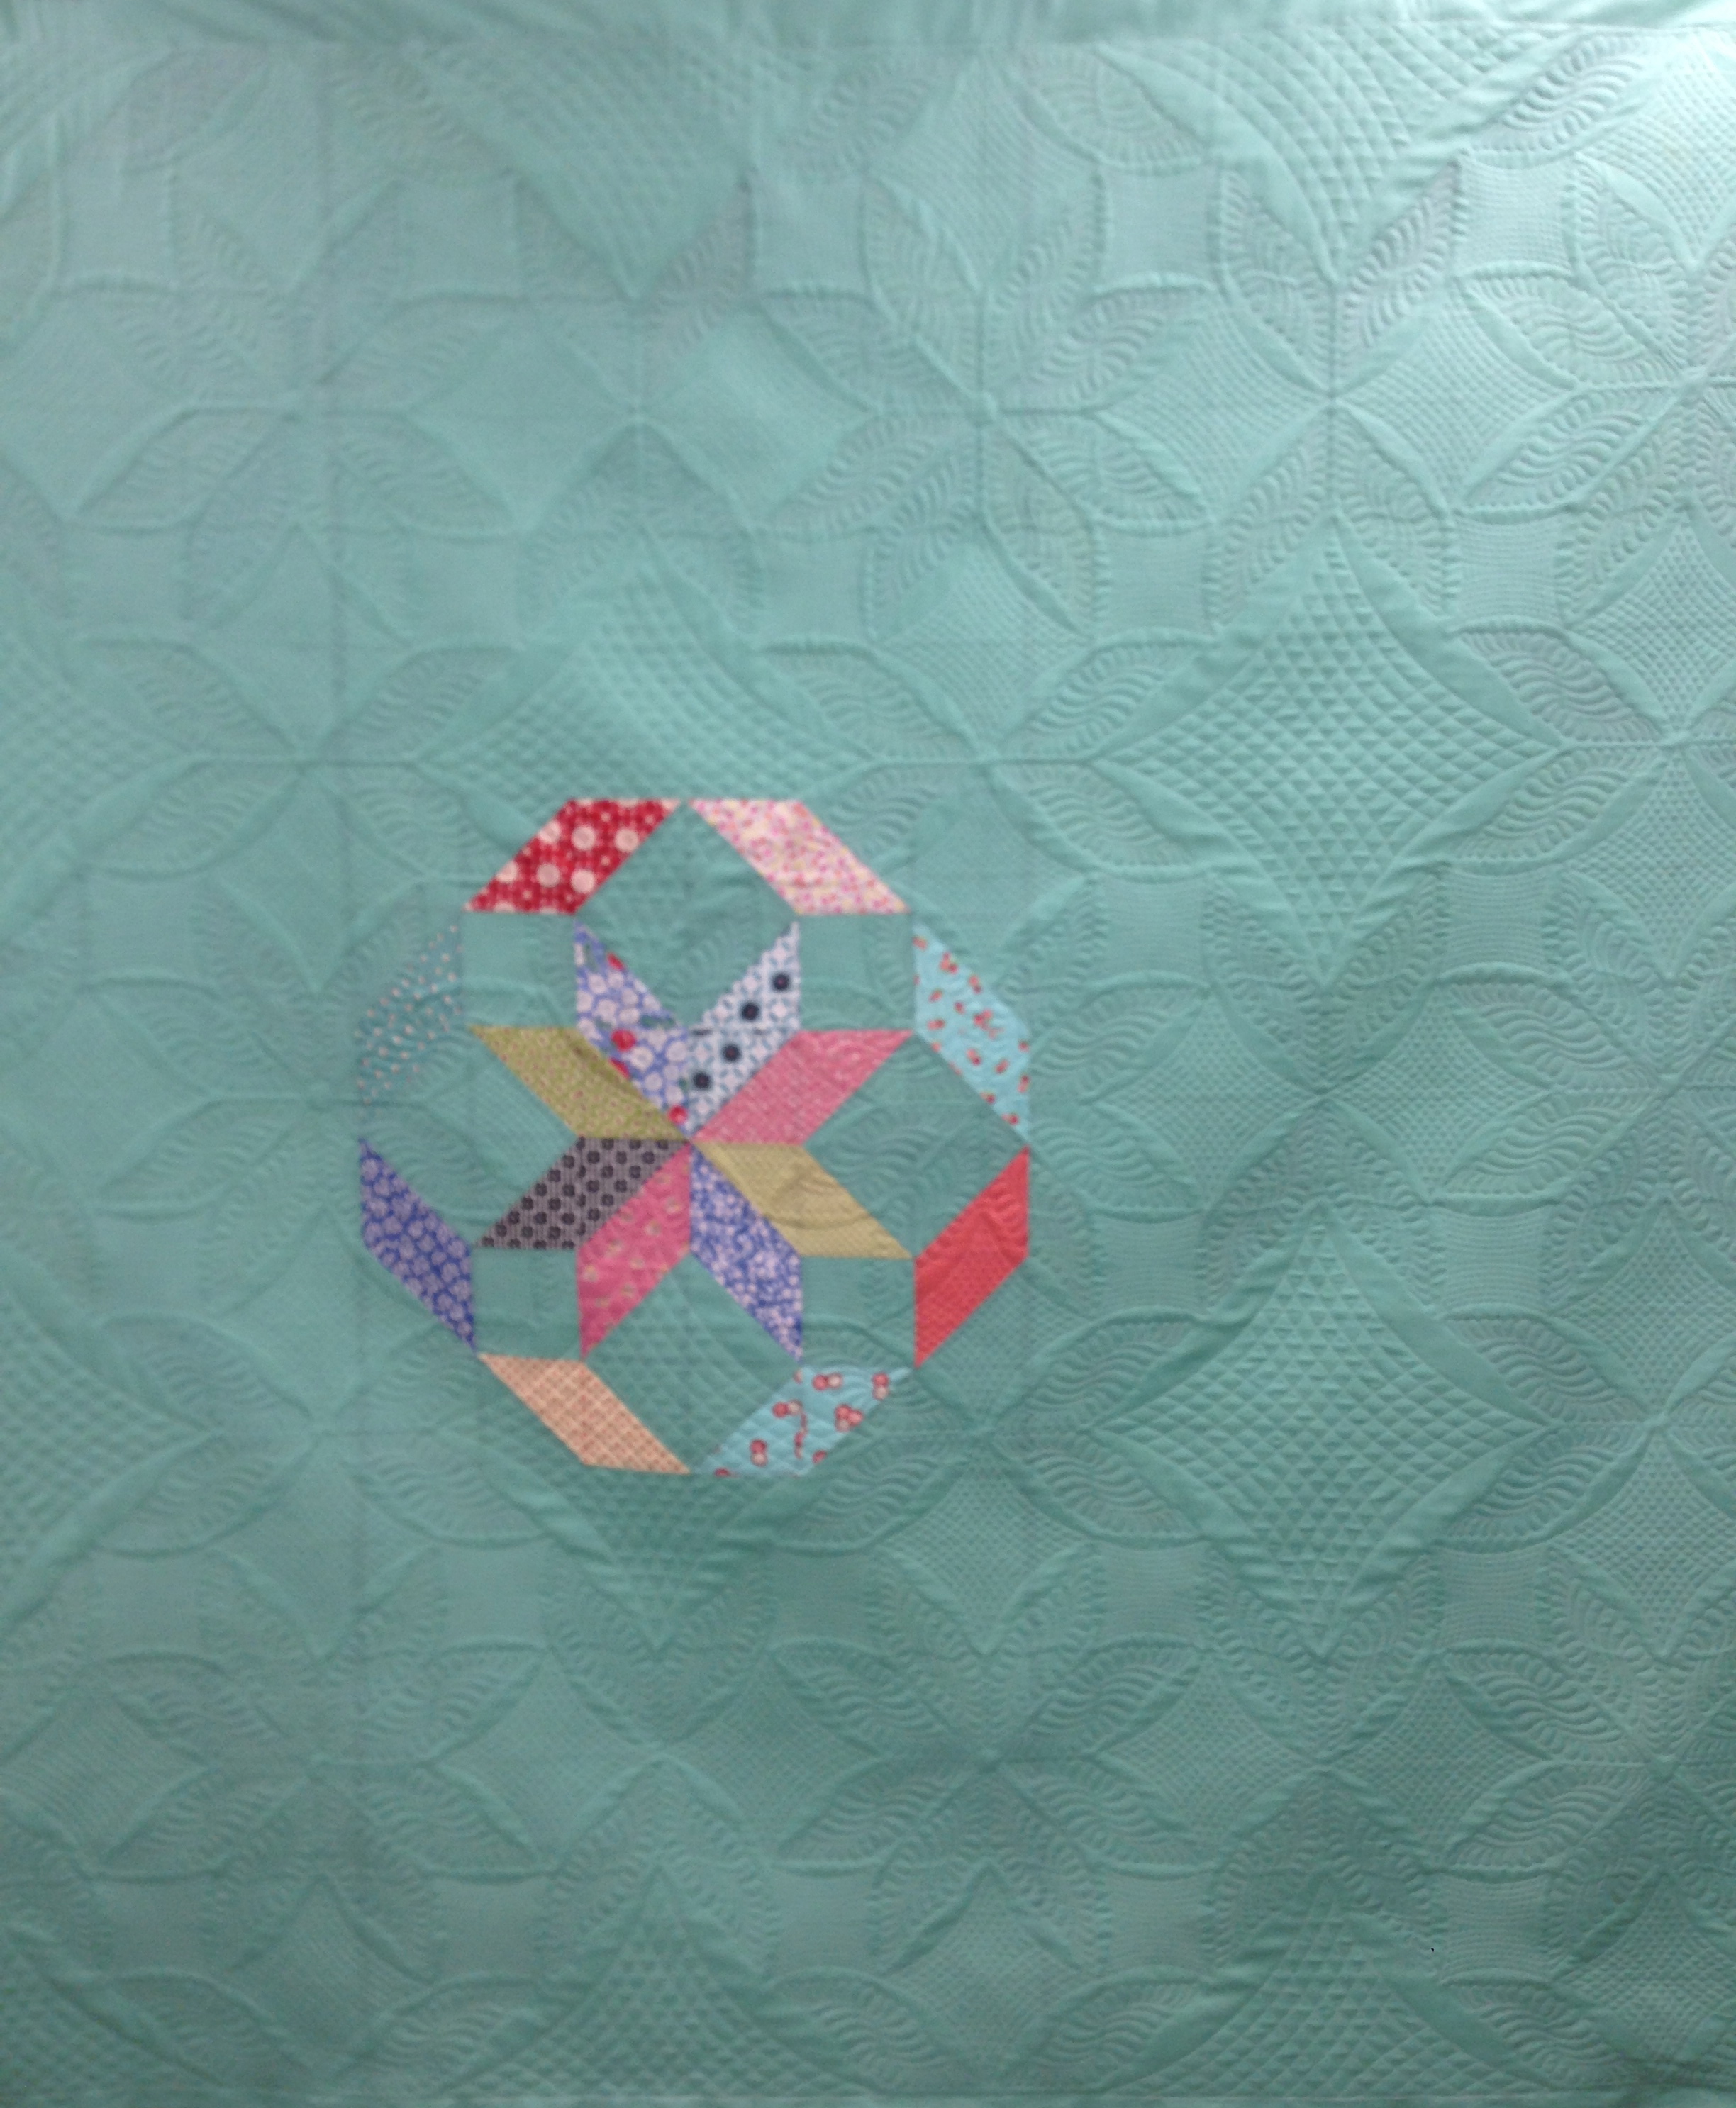
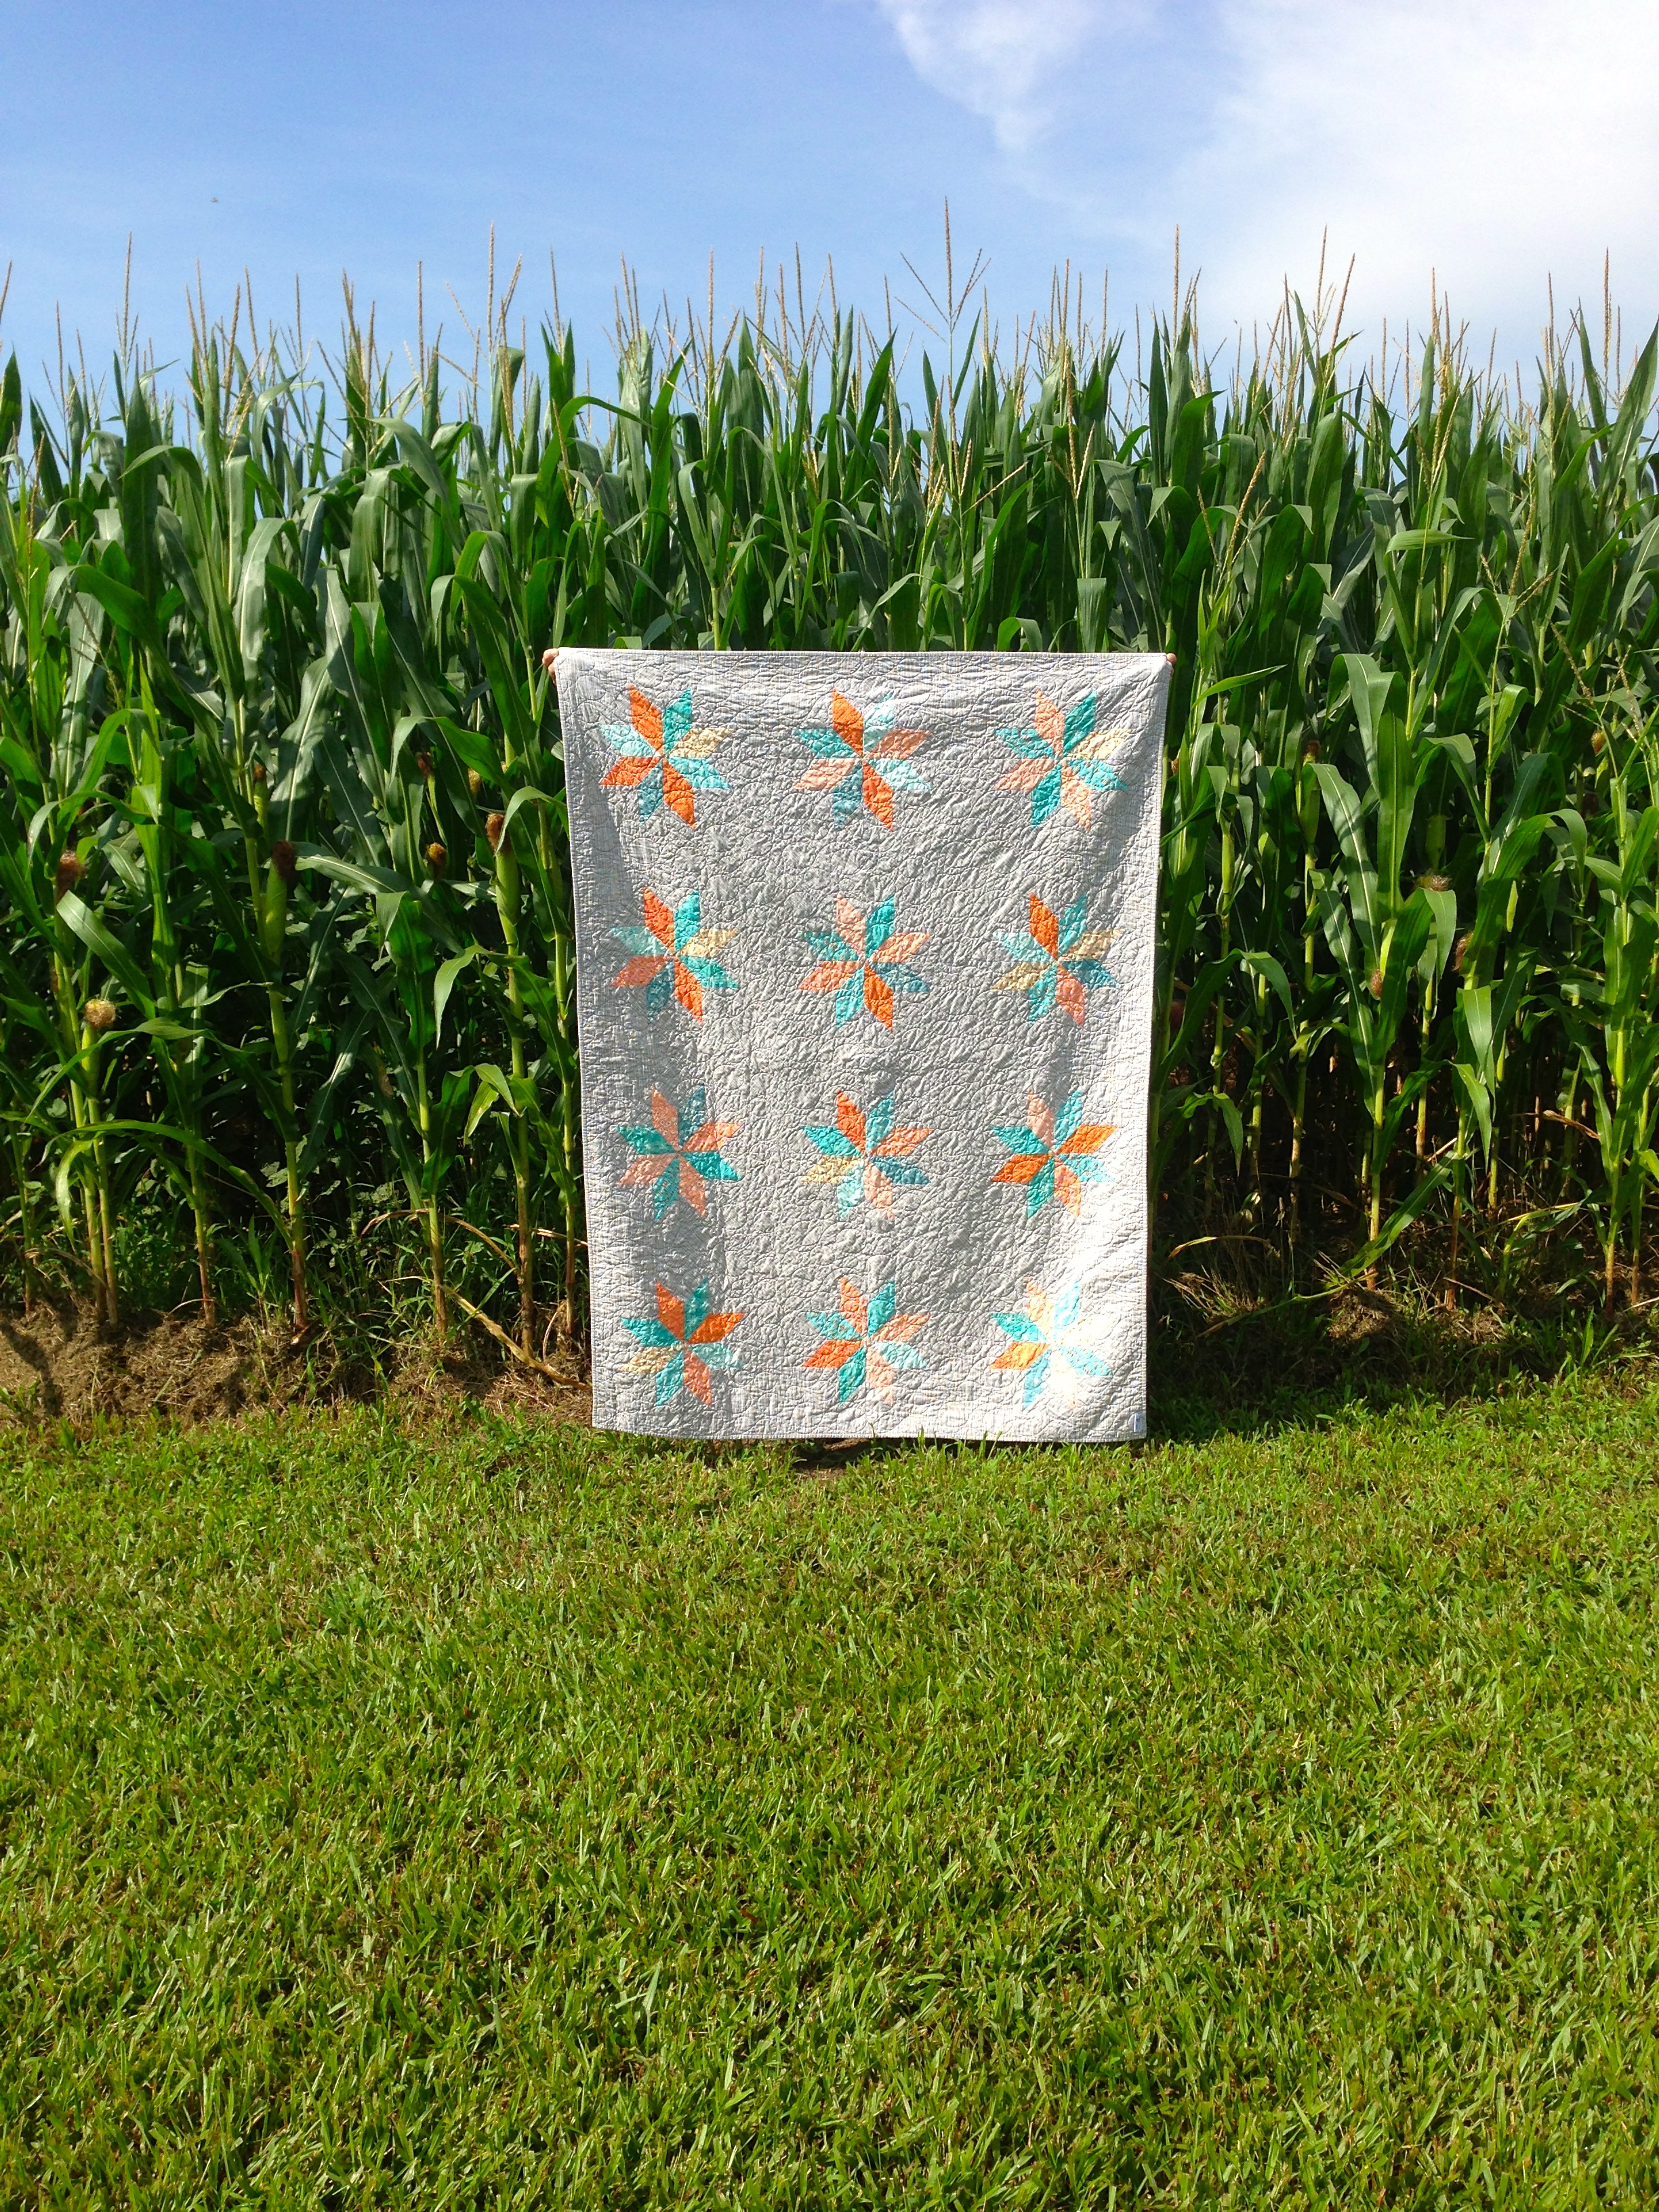
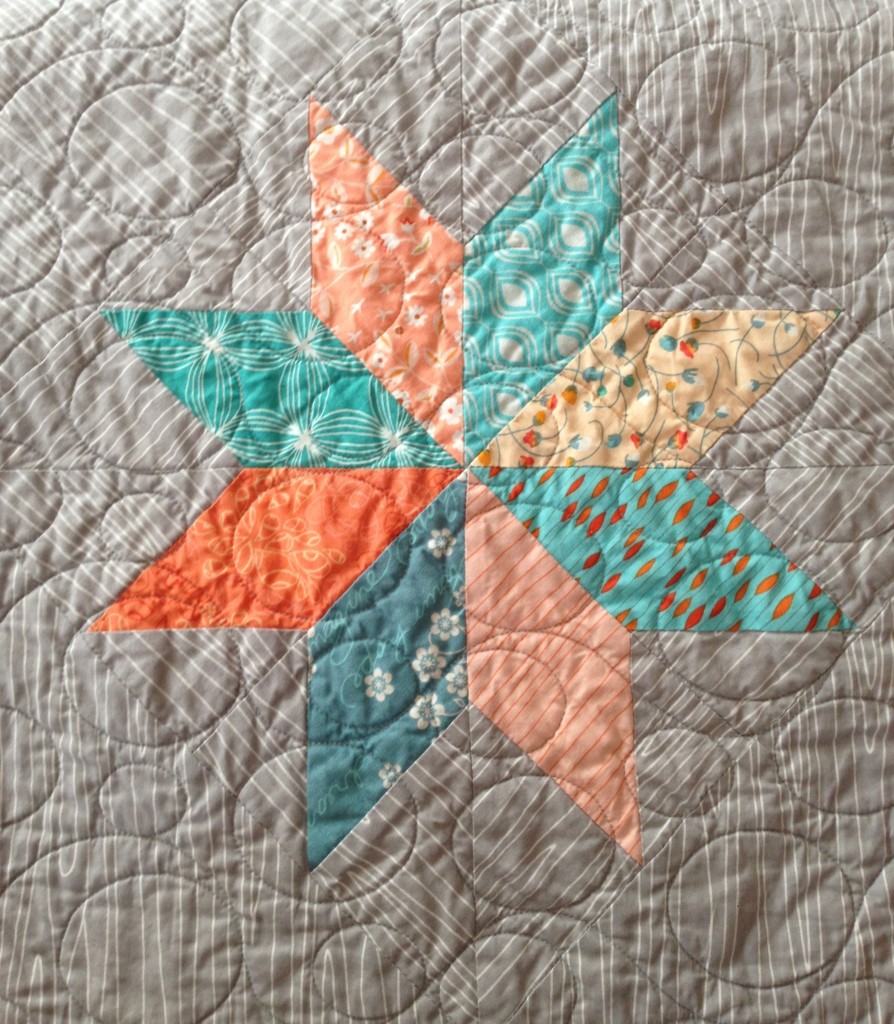
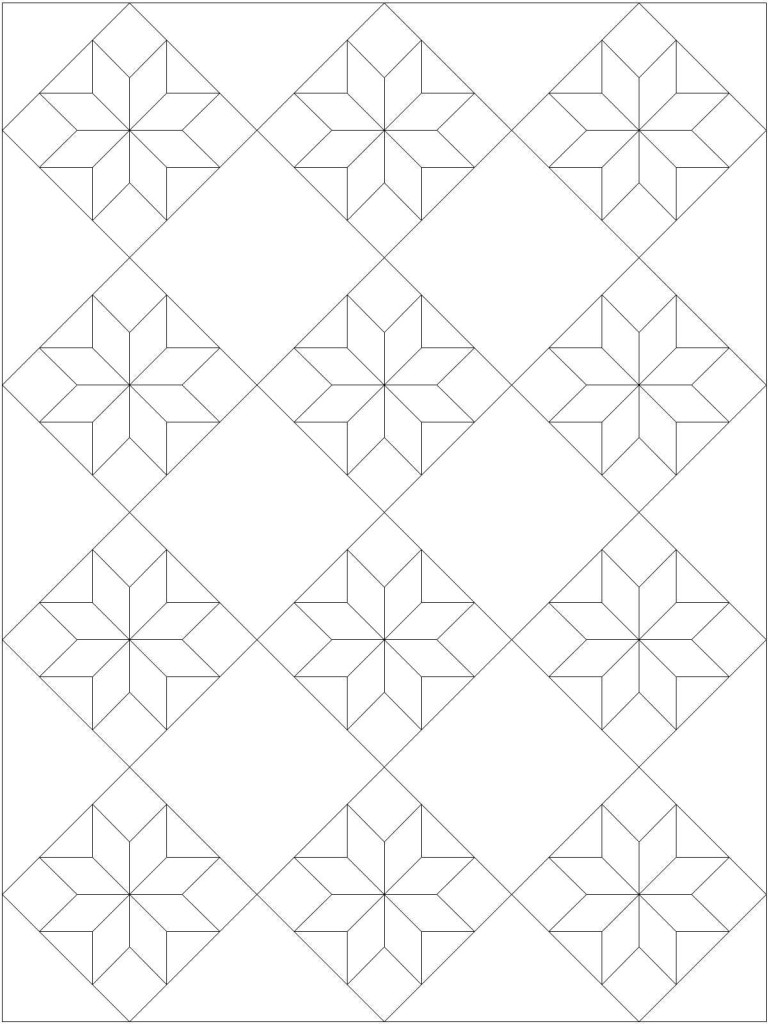
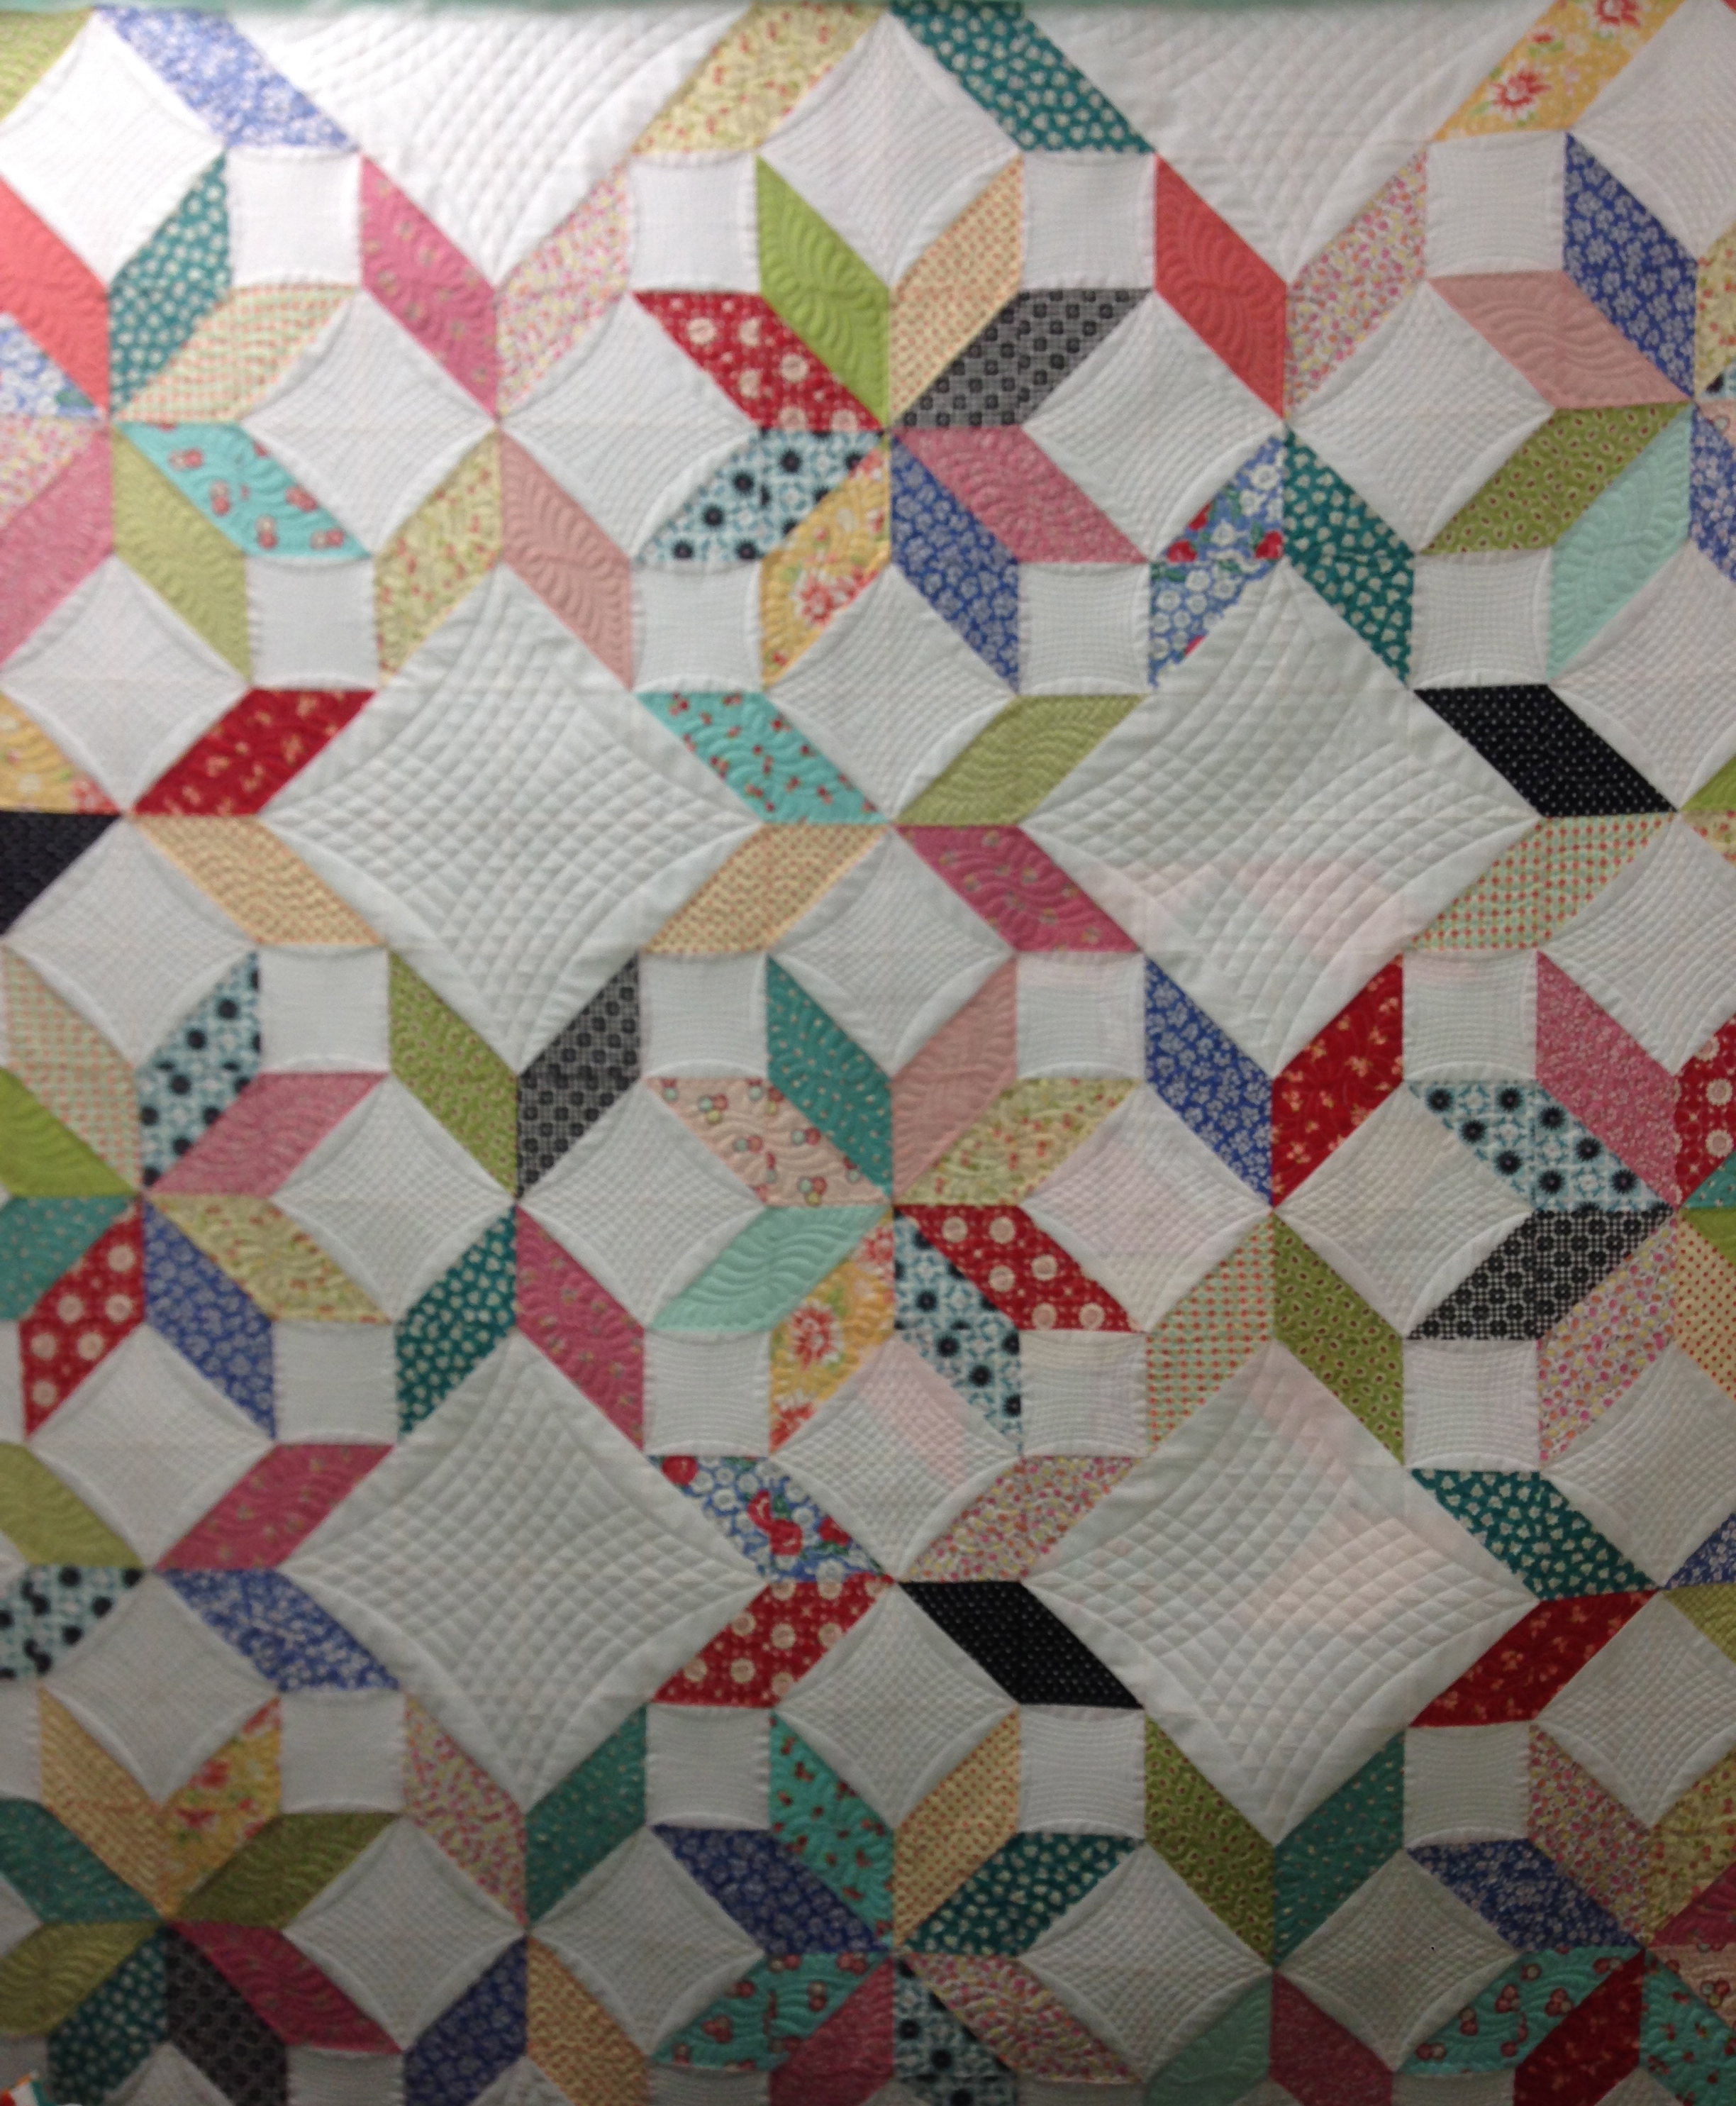
Scrappy Lemoyne Star Quilt Pattern
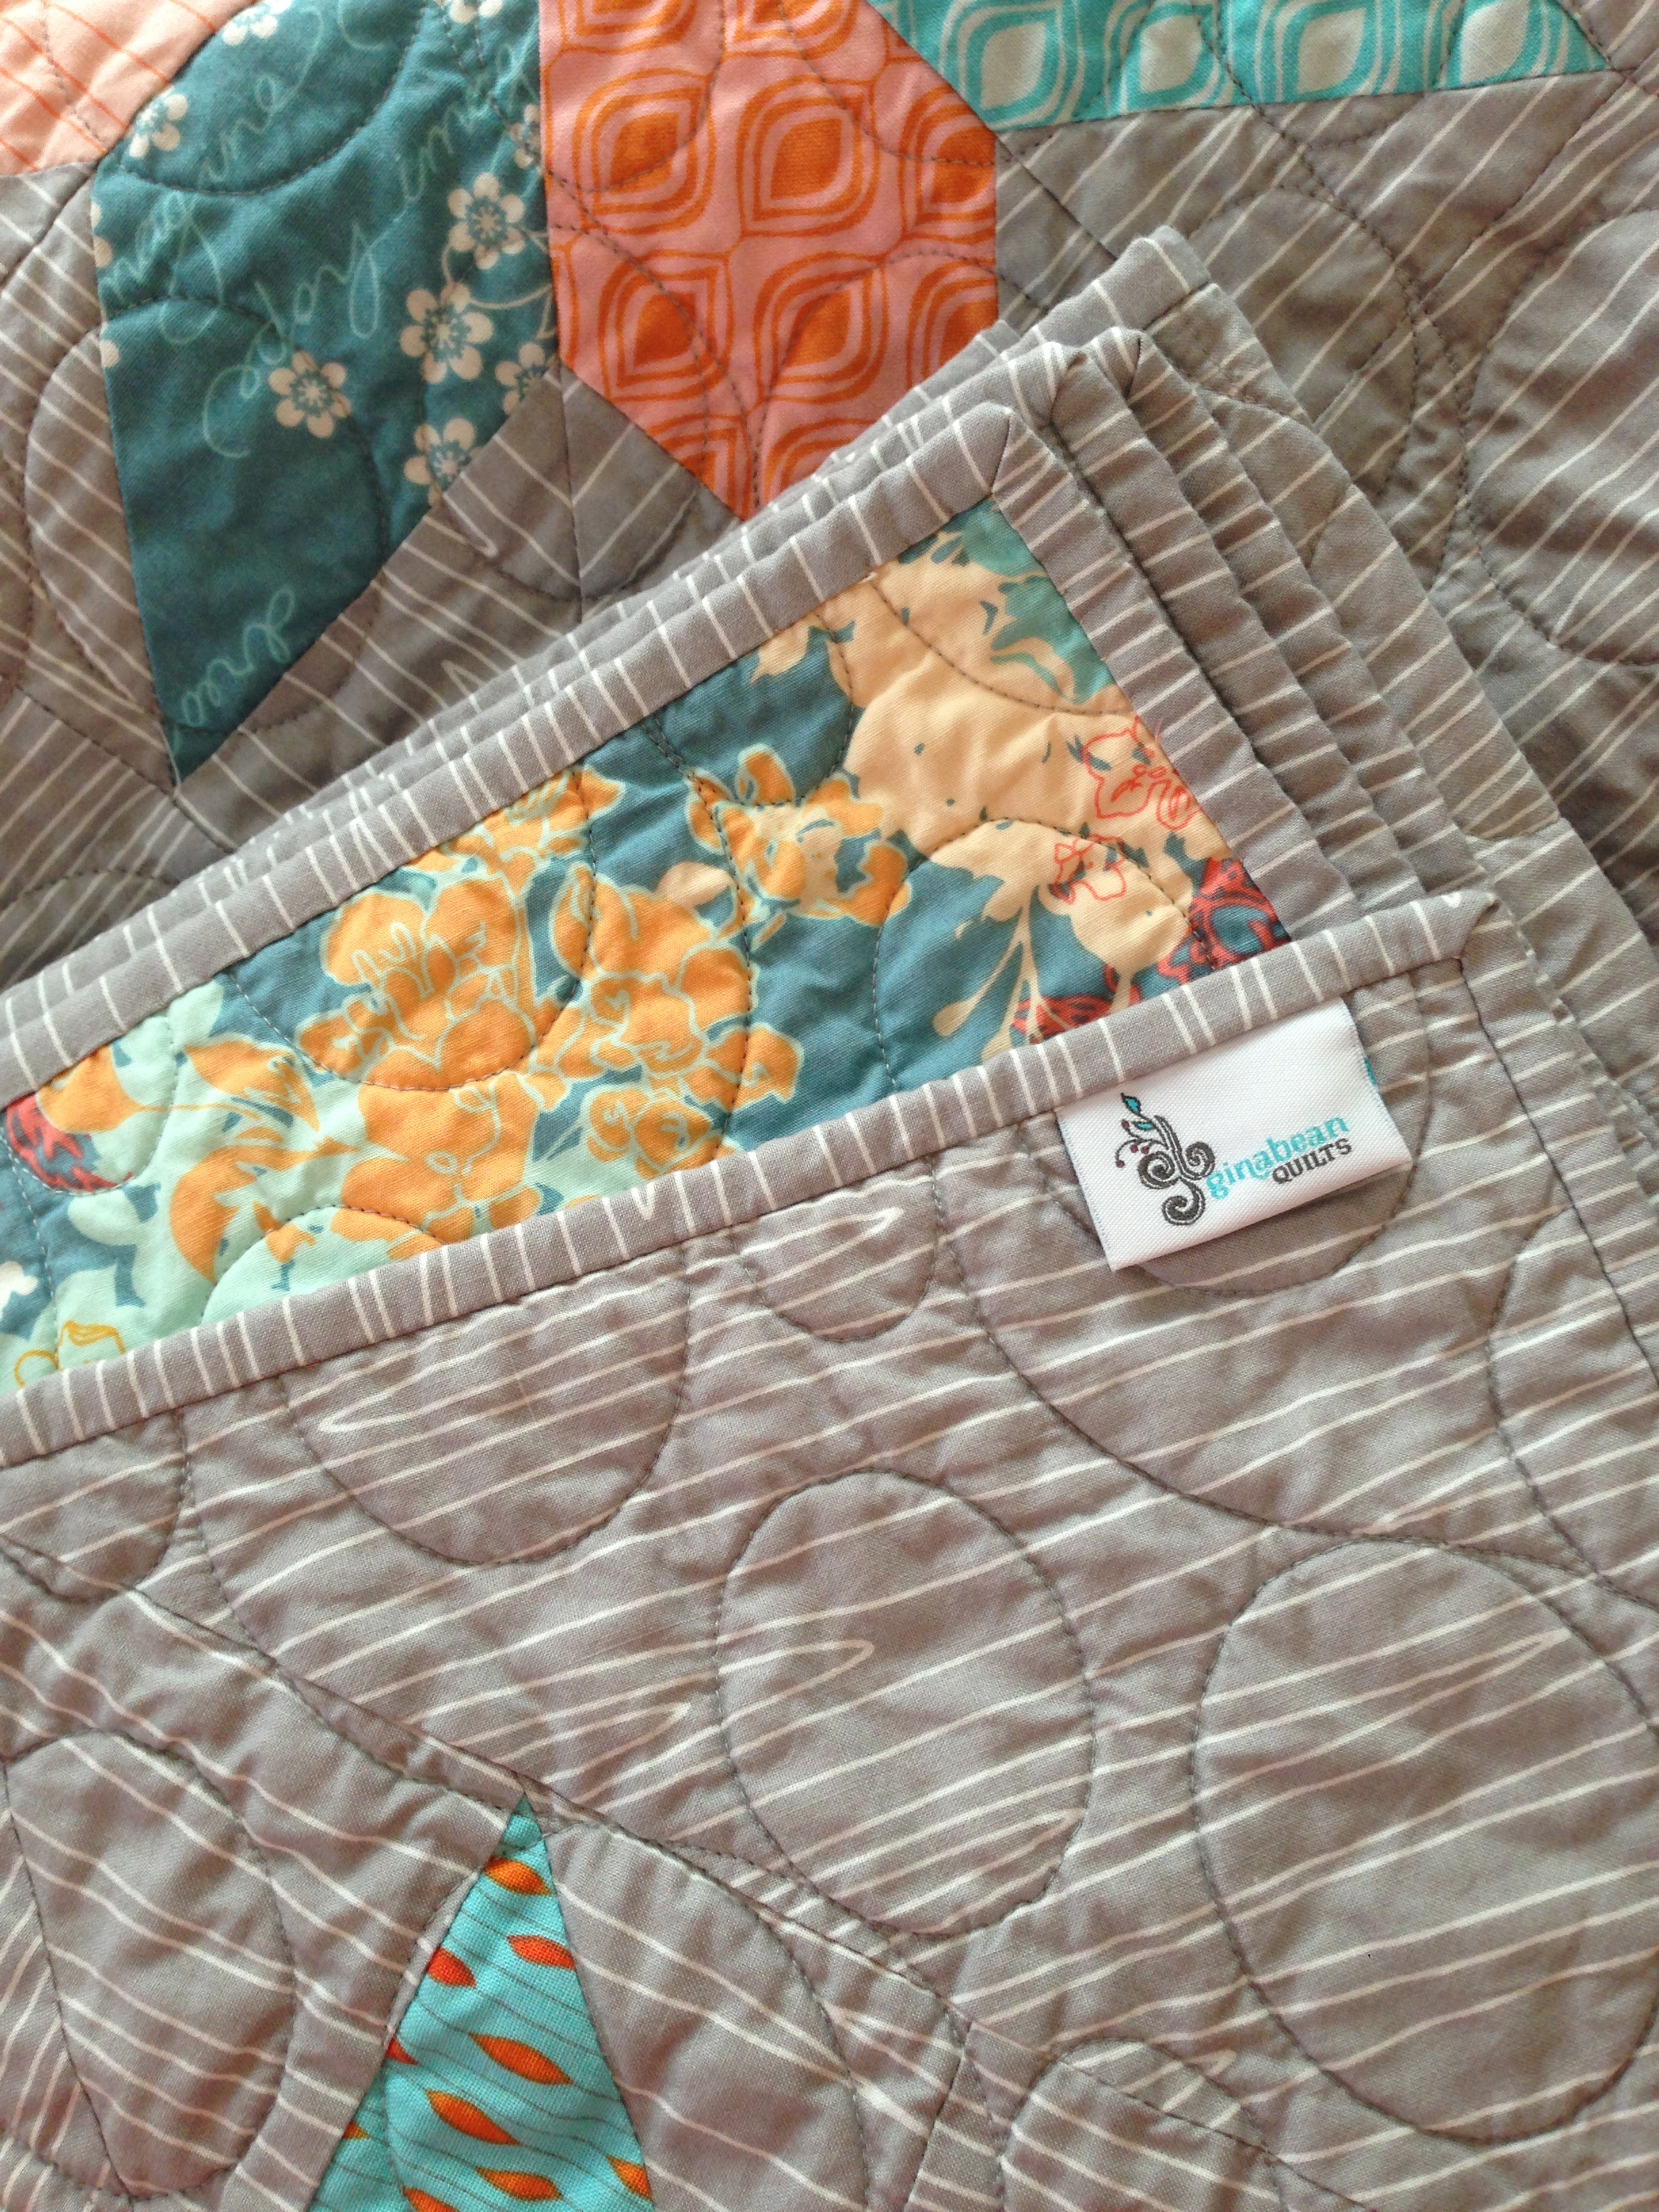
Lemoyne Star Quilt
Designed by Gina Allen
51” X 68”
The Lemoyne Star blocks were constructed using Deb Tucker’s Rapid Fire Lemoyne Star Ruler © and the Tucker Trimmer III© ruler.
1/8 yard of 12 Assorted Prints for Stars (1.5 yards total)
3½ yards Background Fabric for the Stars, Squares and Setting Triangles
3¾ yard Backing Fabric
½ yard Binding Fabric
59” x 76” Batting
Cutting Instructions:
Cut (1) 3 ¼” strip from each of the 12 Assorted Prints. These strips will be used for the points of the Lemoyne Star Block.
Background:
Cut (12) 4 ¾” strips from the background. These strips will be used for the background of the Lemoyne Star Blocks.
Cut (2) 12 ½” strips. Sub cut each 12 ½” strips into (3) 12 ½” squares for a total of (6) 12 ½” squares
Cut (2) 18 1/8” strips. Sub cut (3) 18 1/8” squares from these strips. Cut each 18 1/8” square diagonally twice (from upper left corner to lower right corner and upper right corner to lower left corner). These will be the setting triangles used in the sides, top and bottom of the quilt. A total of (10) setting triangles are needed.
From the fabric remaining from the 18 1/8” cut, cut (2) 9 3/8” squares. Sub cut each square once on the diagonal. These will be the (4) setting triangles used for the corners of the quilt.
Block Construction: Pair together a 3¼” strip with a 4 ¾” strip for the star block. You will need 6 pairs for the Star blocks. Each pair will yield enough to make 2 star blocks. (12) 12 ½” Lemoyne star blocks are used in this quilt. Using the directions provided with the Rapid Fire Lemoyne Star Ruler, piece together 12 star blocks.
Layout the quilt referring to the quilt diagram. Sew the blocks together in diagonal rows. Press the seam allowances open.
Layer the quilt top with batting and backing. Quilt as desired.
From the binding fabric, cut (6) 2” strips for binding.
Ellen’s Quilt
Ellen’s Quilt
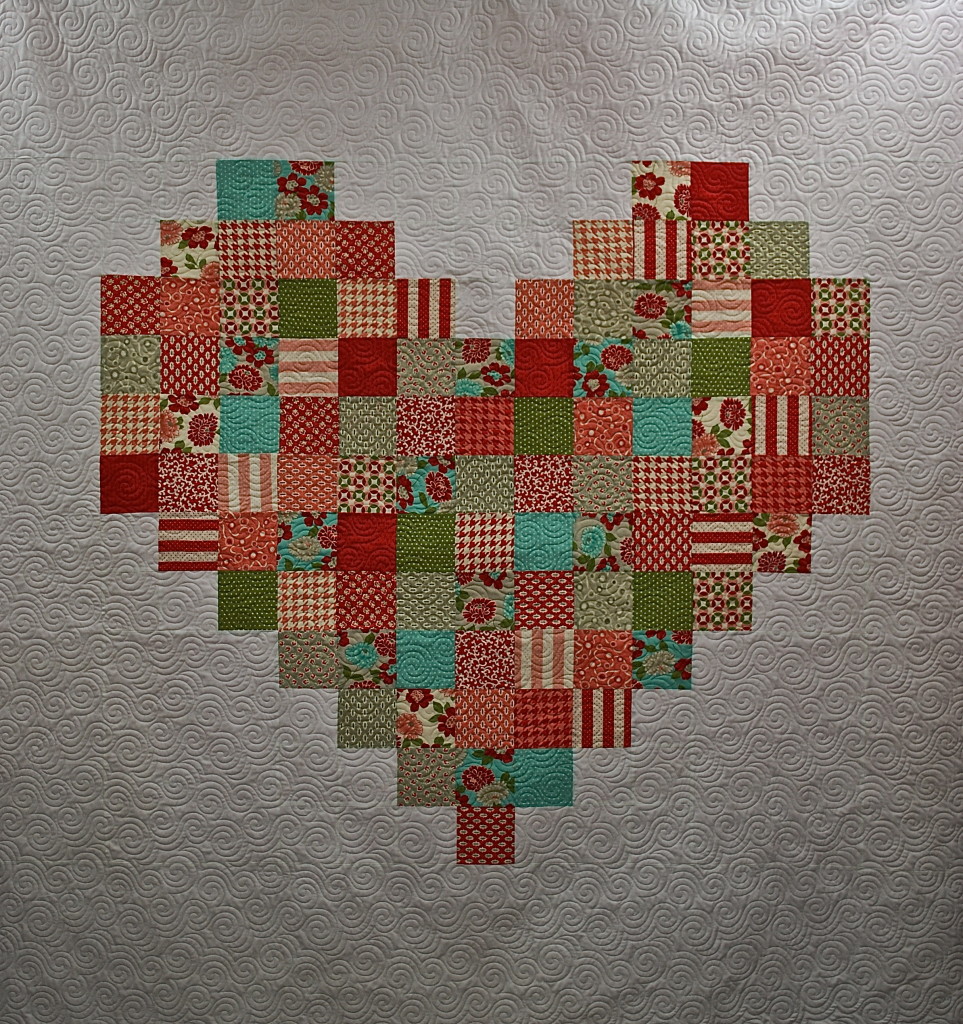
This week I quilted Ellen’s Pixilated Heart Quilt. If I am not mistaken, I think she designed this all on her own! Ellen took her first sewing lesson from me a few years back, so I think I should take half the credit for the beautiful quilt she designed and pieced. (wink, wink) I could not be more proud of her.
Log Cabin Lovely
Sue’s Quilt
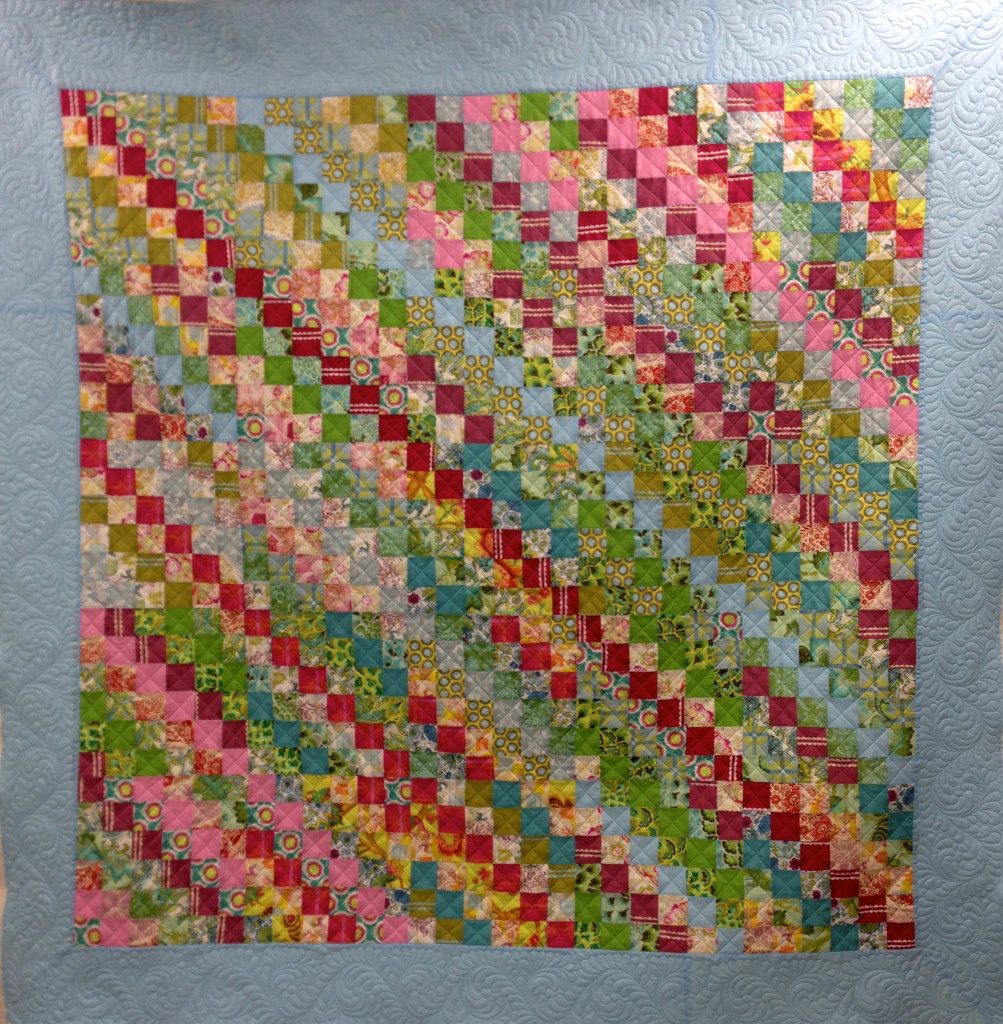
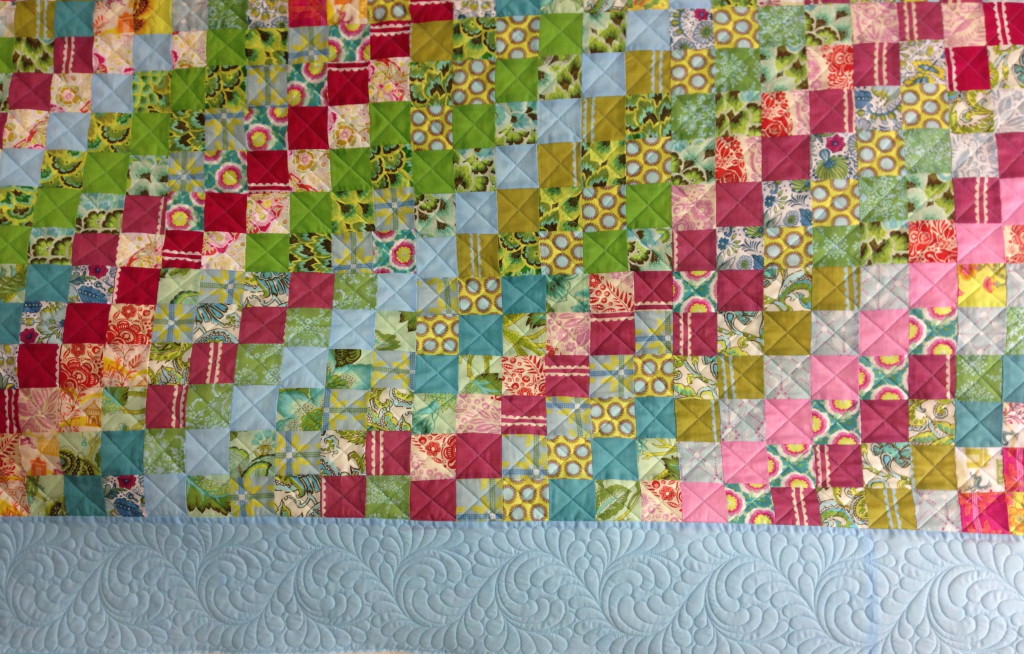
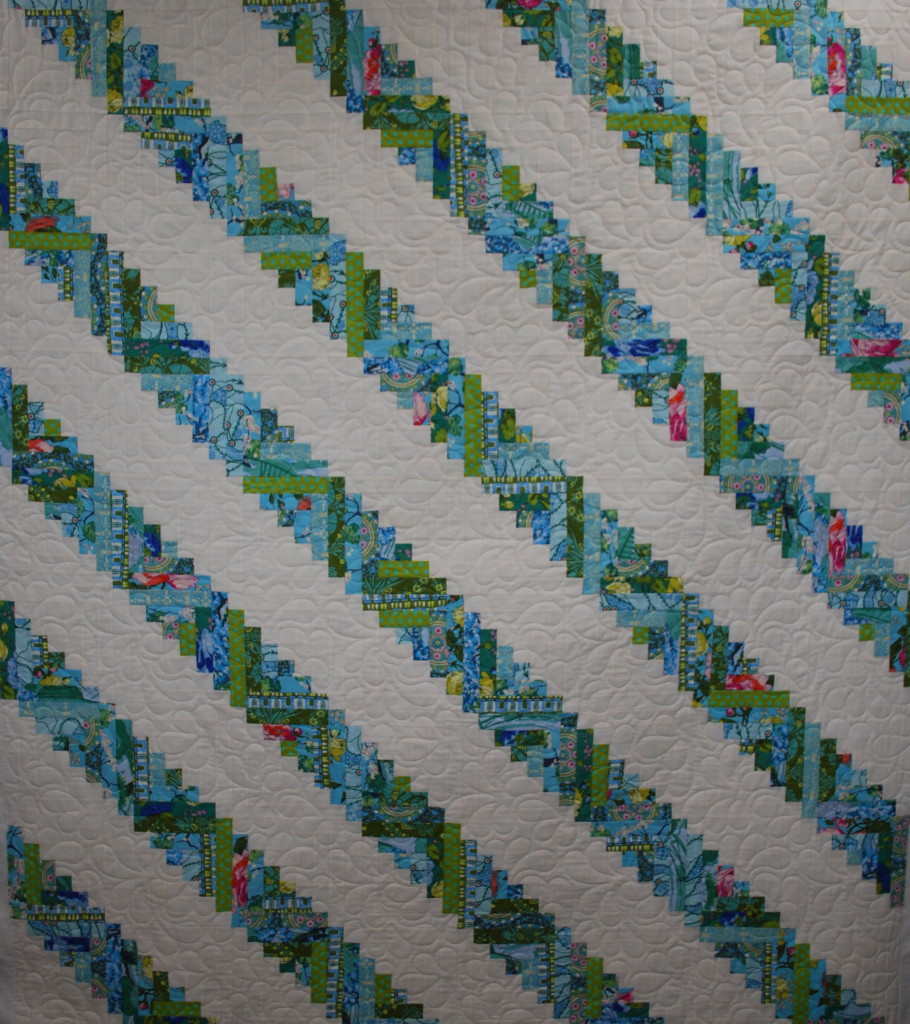
I finished quilting this Log Cabin Lovely today. It’s Sue’s and it’s perfection! She did such a great job on it. Until now, I haven’t really had the best space to take full sized pictures of all of the quilts I’ve quilted. My husband took care of that for me this weekend. He put up a cable/clothes line do-ma thingy for me and now I can hang the quilts and take pictures. It’s much better sharing the whole quilt instead of just a little snippet, don’t you think!
Sewing Sunday

